The most livable kitchen island design ideas with seating come down to three measurements published by the National Kitchen & Bath Association (NKBA). Give each seated person 24 inches of counter width. Give their knees 15 inches of overhang at a standard 36-inch counter, 12 inches at a 42-inch bar, or 18 inches at a 30-inch table. Then leave at least 36 inches behind the stools so people can edge past, or 44 inches so they can walk past comfortably.
Hit those numbers and nearly any layout can work. Miss them, and even a gorgeous island turns into the spot where nobody actually sits.
Island seating is usually the first thing homeowners ask about when they bring a floor plan into our Santa Ana or Laguna Niguel showroom. It’s also where costly mistakes hide, because seating decisions lock in cabinet depths, countertop supports, and aisle widths long before anyone picks a finish.
This guide walks through overhang depths, clearance zones, and the seating layouts that work best in real homes. Every dimension is tied to a published source, so you can test these kitchen island design ideas against your own plan before you commit.
How Much Space Does a Kitchen Island With Seating Need?
An island with seating needs more floor space than one without it, because the stools and the people on them claim part of the aisle. Before falling for any of the kitchen island design ideas below, confirm the room can actually hold the island plus its seating. The safest way to plan is from the room inward: set the aisles first, then see how much island is left.
Work Aisles vs. Walkways: The Two Numbers That Shape Every Plan
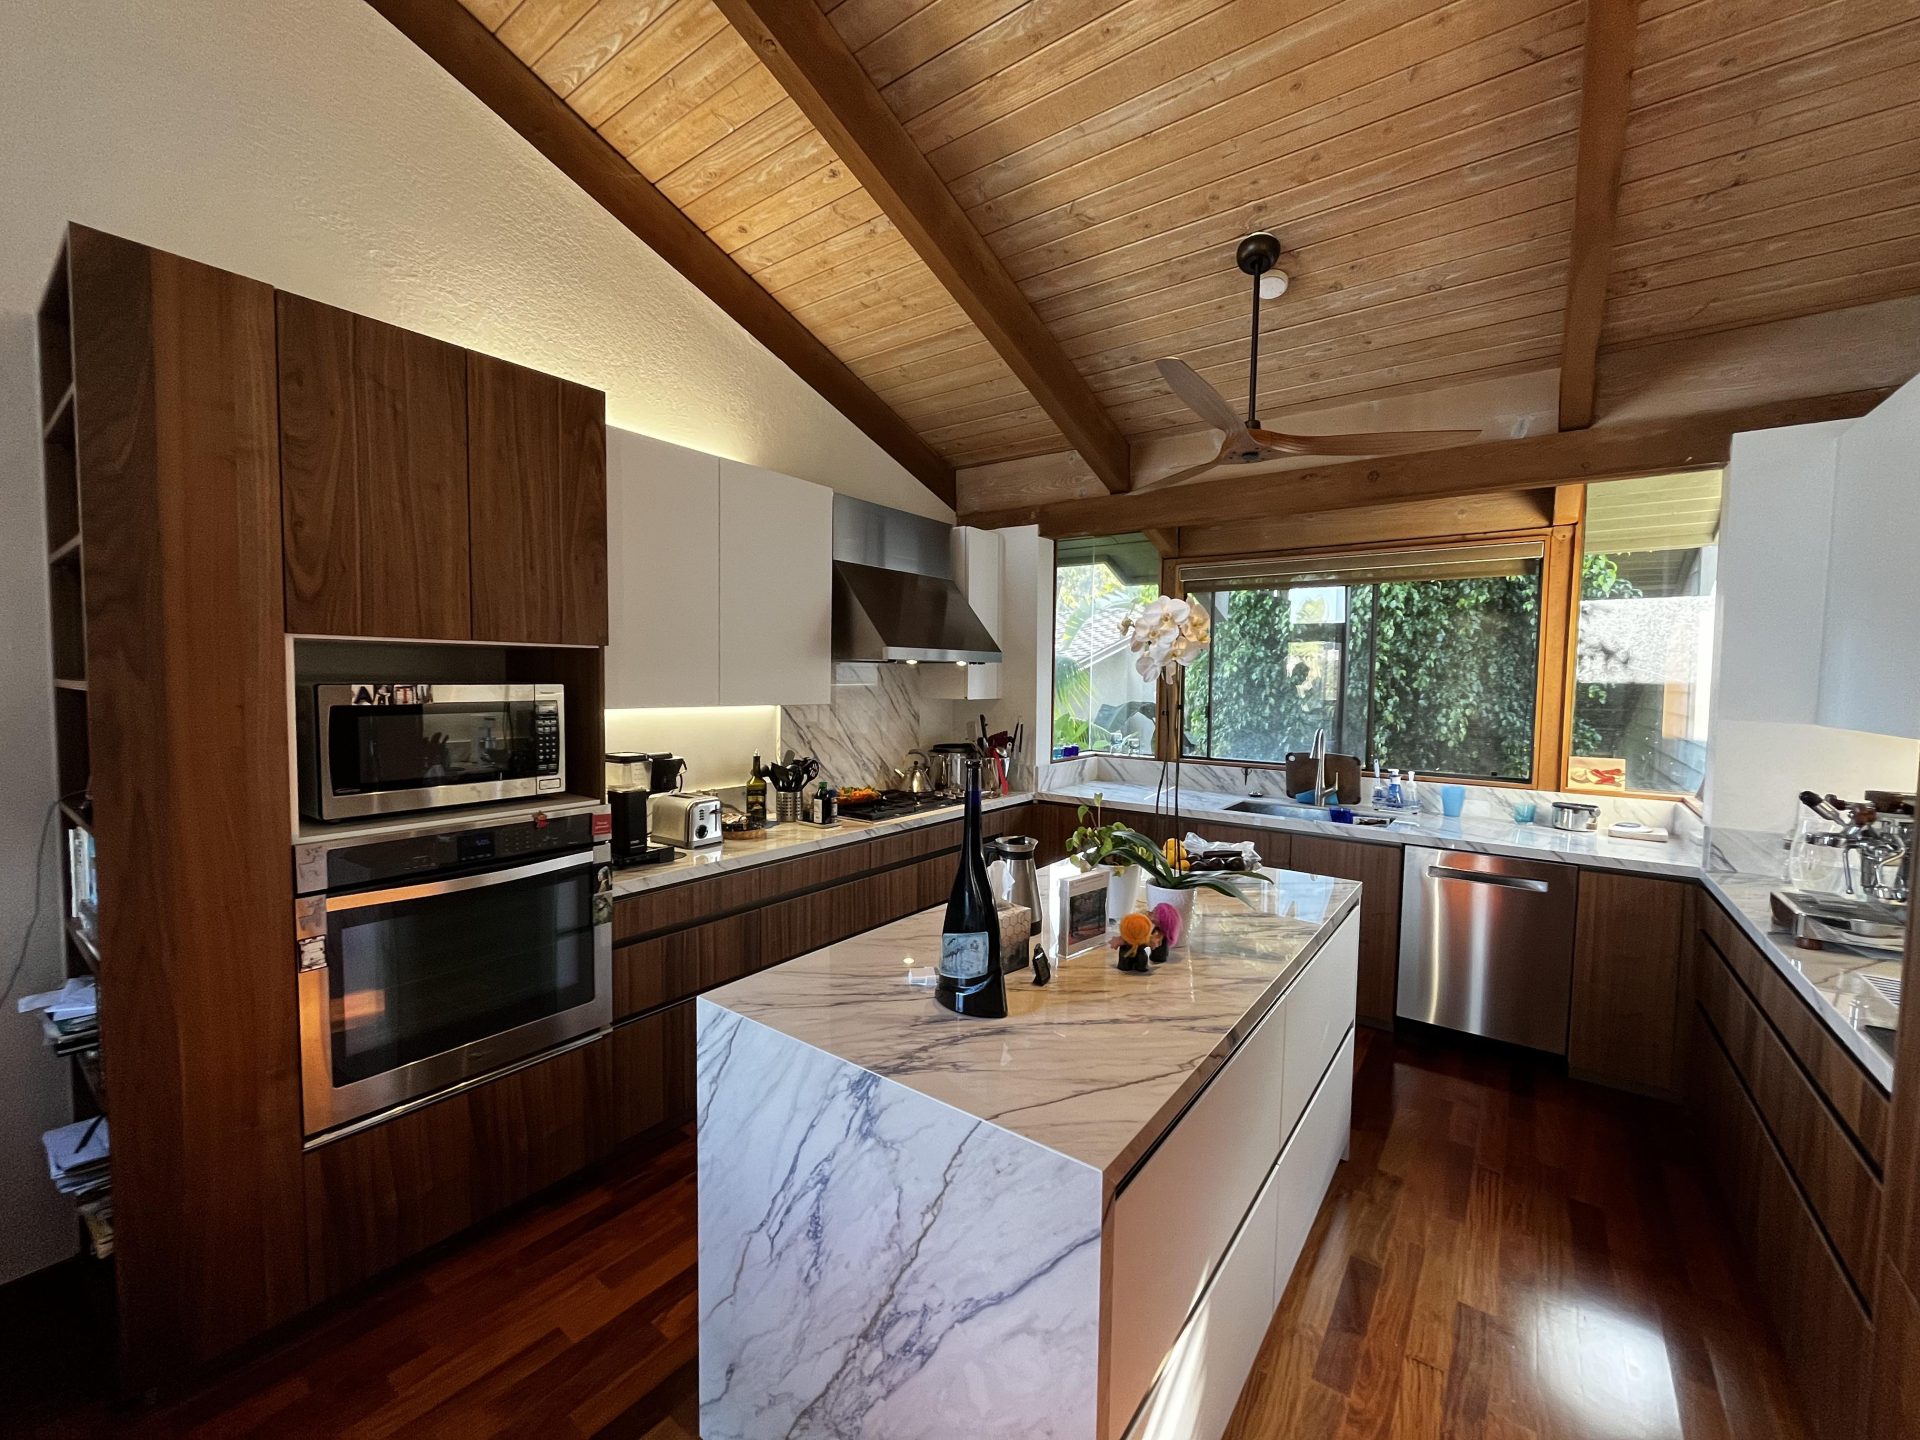
The NKBA Kitchen Planning Guidelines separate two kinds of passage:
- Work aisle (Guideline 6): the space between the island and a counter, tall cabinet, or appliance where someone cooks. Plan at least 42 inches for one cook and at least 48 inches for multiple cooks.
- Walkway (Guideline 7): a path people simply move through. Plan at least 36 inches.
The seating side of an island usually faces a walkway, a family room, or a dining area rather than a working wall. That’s convenient, because the seating clearance and the walkway can often share the same strip of floor.
One more NKBA check matters here. No leg of the work triangle between sink, cooktop, and refrigerator should cut through an island or peninsula by more than 12 inches (Guideline 3). An island that blocks the path between your main appliances will feel awkward, no matter how good the seating is.
A Worked Example: Sizing an Island From the Room Out
Say your kitchen measures 13 feet (156 inches) from the back wall to the edge of the family room. NKBA’s countertop guideline assumes 24-inch-deep counters, but finished tops usually land a little deeper, so this example uses 25 inches. Here’s how the math plays out with NKBA minimums:
- Subtract the 25-inch perimeter countertop. That leaves 131 inches.
- Subtract a 42-inch work aisle between that countertop and the island’s working side. That leaves 89 inches.
- Subtract 44 inches behind the seating so people can walk past seated guests. That leaves 45 inches.
Forty-five inches is your maximum total island depth, including the seating overhang. A 24-inch-deep base cabinet plus a 15-inch counter-height overhang lands around 40 inches, so this room works with a few inches to spare.
Run the same numbers in a 12-foot room and the island shrinks to about 33 inches deep. That’s where many kitchen island design ideas need to adapt: a shallower cabinet, seating on the end instead of the long side, or a peninsula instead of a freestanding island.
Kitchen Island Overhang Depth for Counter, Bar, and Table-Height Seating
The overhang is the part of the countertop that extends past the cabinet so knees can slide underneath. Of all the details in kitchen island design ideas with seating, it’s the one most often guessed instead of measured. NKBA Guideline 9 ties the knee space to the height of the seating surface: the lower the counter, the deeper the knee space has to be. Every seated person also gets a 24-inch-wide slot.
Counter-Height Seating (36 Inches)
This is the most common choice, because the seating surface sits flush with the rest of the island. NKBA recommends a knee space 24 inches wide by 15 inches deep for each diner at a 36-inch counter. One continuous surface also gives you more usable prep and serving space when nobody is sitting.
Bar-Height Seating (42 Inches)
A 42-inch bar needs less overhang: 24 inches wide by 12 inches deep per person, according to NKBA. Raising the seating side also hides prep clutter and splashes from the dining side. The trade-off is that tall stools are harder for young children and many older adults to climb onto.
Table-Height Seating (30 Inches)
At a 30-inch table height, NKBA calls for the deepest knee space: 24 inches wide by 18 inches deep. That’s the height of a regular dining table, so ordinary dining chairs work. It’s the most comfortable option for long meals, homework, or a laptop session.
Supporting the Countertop Overhang: Corbels, Brackets, and Hidden Steel
Here’s the part that surprises many homeowners: the countertop material, not the cabinet, decides how far the top can extend on its own. Stone and quartz makers publish their own maximum unsupported overhang, and that limit changes with the material and the slab thickness. Ask your fabricator for the exact number during design, not on installation day.
When the seating overhang goes past that limit, you have three main support options:
- Decorative corbels: visible brackets that suit classic and transitional rooms.
- Concealed steel brackets or flat bars: recessed into the cabinet top so the overhang appears to float.
- Legs or end panels: posts or a full-height panel at the end of the island, which can double as a design statement.
Many modern kitchen island design ideas depend on that hidden steel, because a slab with no visible brackets is the whole look. The support plan also affects the cabinet order, so your cabinet designer and countertop fabricator should review the same drawings before anything is built.
Seating Clearance Behind Stools and How Many Seats Fit
Once the overhang is set, the next question is what happens behind the people sitting there. This is where many kitchen island design ideas look great in renderings but feel cramped in daily life, because the stool and the diner push back into the walkway.
Clearance Behind Island Seating
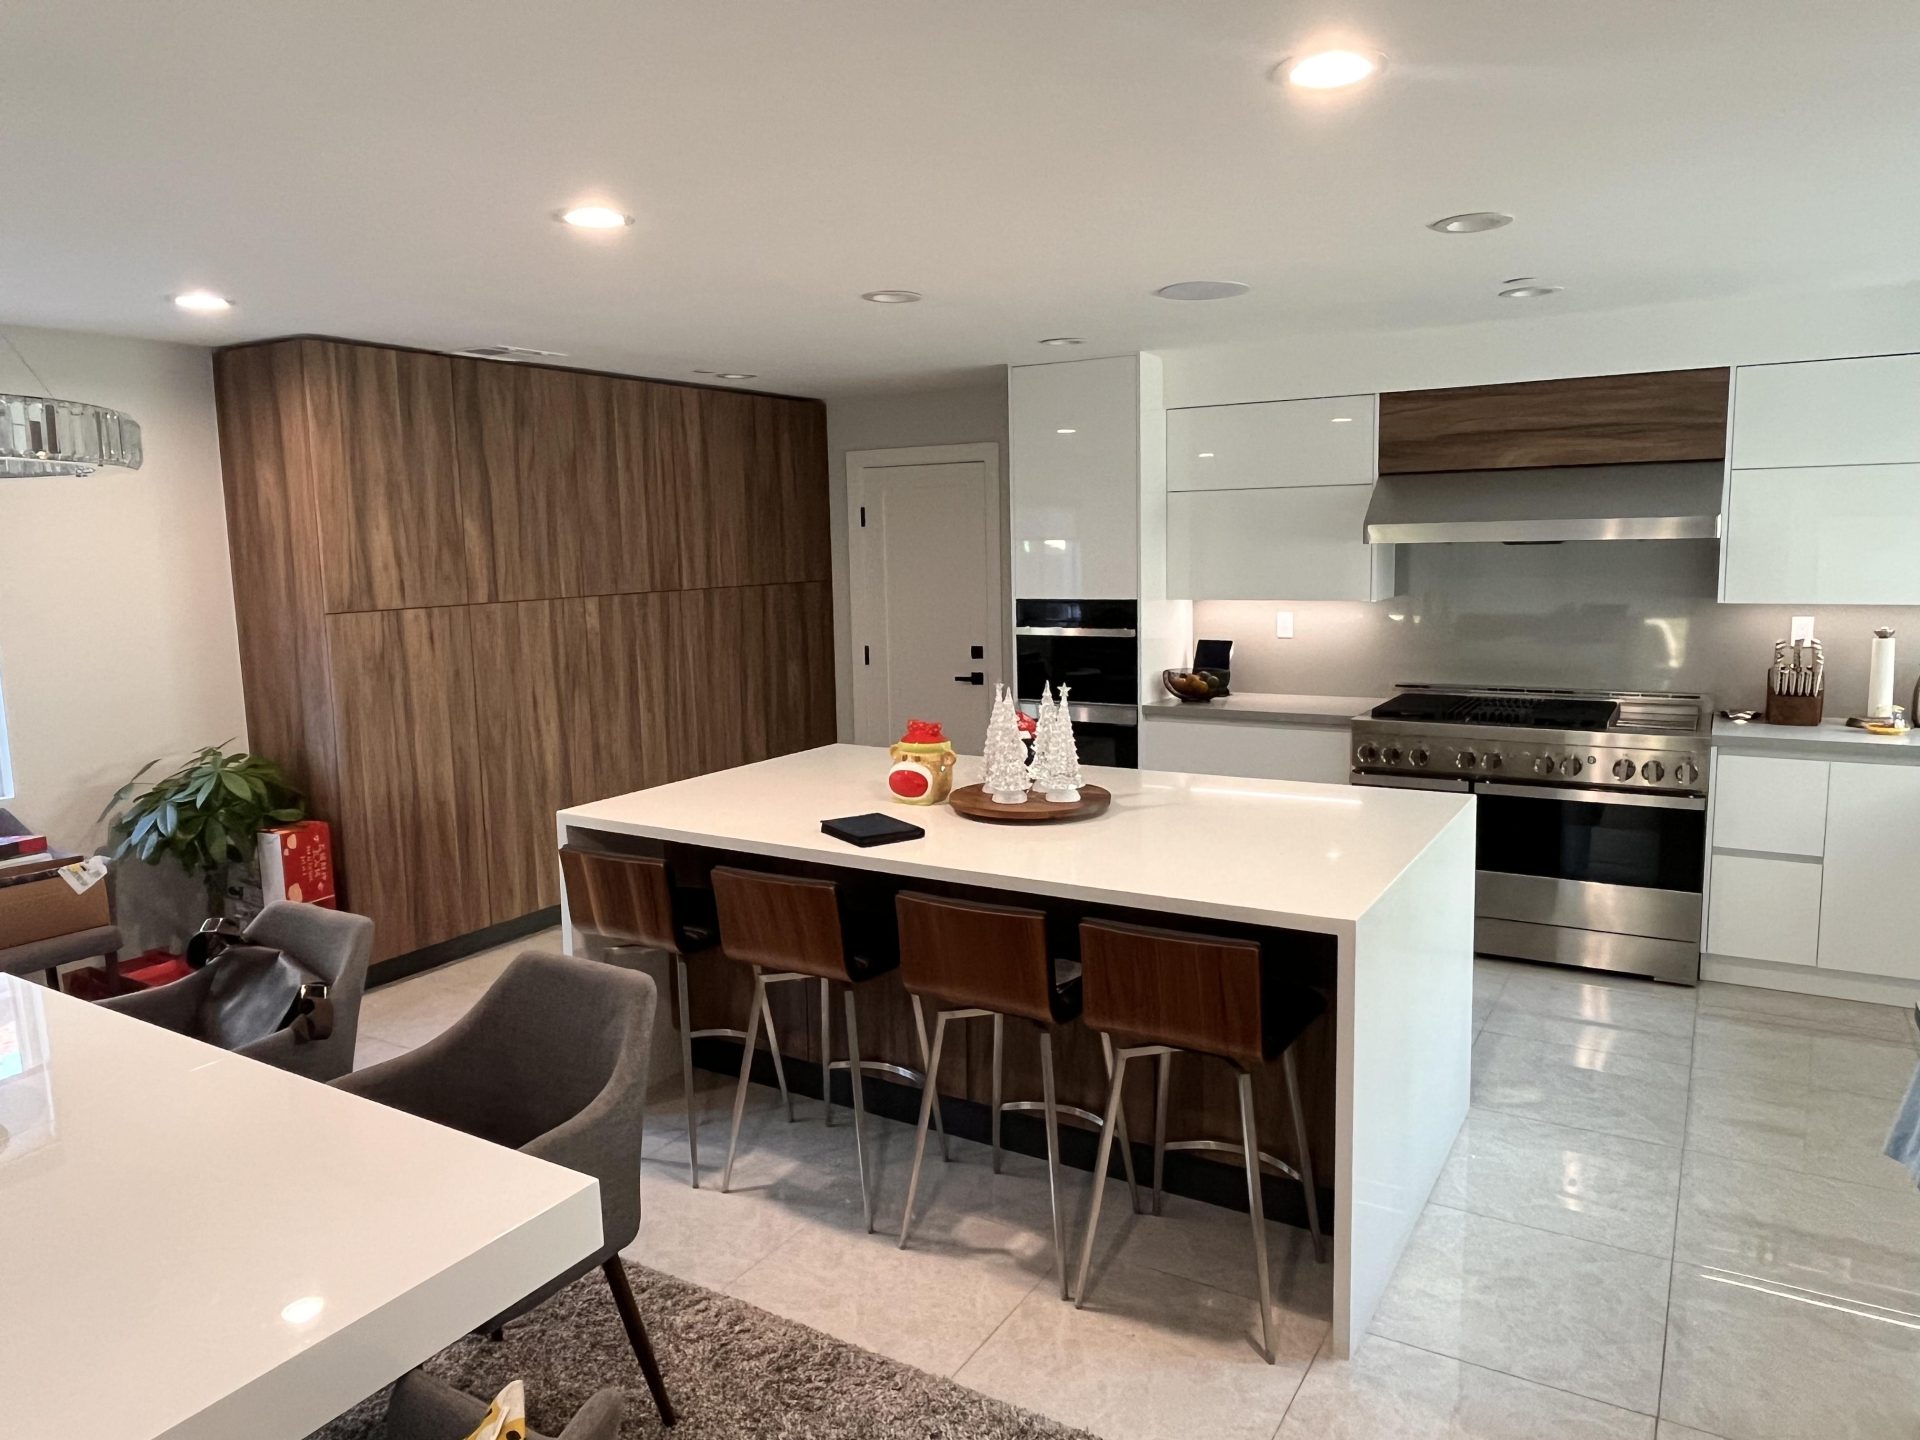
NKBA Guideline 8 measures from the counter edge to the nearest wall or obstruction behind the seat:
- 32 inches when no one needs to pass behind a seated diner.
- 36 inches when people need to edge past.
- 44 inches when people need to walk past normally.
In open-plan homes, the space behind the stools often doubles as the main route from the garage, patio, or family room into the kitchen. Treat that path as a true walkway and use the 44-inch number. In a tucked-away nook where the seating faces a wall, 32 inches can work.
Seat Width: How Many Bar Stools Fit at an Island
NKBA plans a 24-inch-wide space for each seated diner. Divide the length of the seating side by 24 to get a comfortable seat count:
- A 72-inch (6-foot) seating side fits three seats.
- A 96-inch (8-foot) seating side fits four seats.
- A 120-inch (10-foot) seating side fits five seats.
Two details change the math. Wide stools with arms take more than 24 inches each, so check the furniture you plan to buy. And an island corner is not a seat: when two people sit at a corner, their knees collide. Count only the straight runs.
Choosing Stools That Fit the Overhang
Stools are part of the clearance plan, not an afterthought. Backless stools tuck fully under the overhang, while stools with backs and arms sit farther out and eat into the walkway behind them. Swivel seats make getting on and off easier when space is tight.
Before you buy, measure from the floor to the underside of the countertop and compare that with each stool’s seat height. Furniture makers label stools as counter height or bar height and publish their own fit guidance, so match the stool to the counter you actually built. Look for a footrest, too, especially at bar height, where dangling feet get tiring during longer meals.
Kitchen Island Design Ideas for Seating Layouts
The right layout depends on how your household actually uses the island: quick breakfasts, homework, entertaining, or full family dinners. These are the seating arrangements that work best, with the planning notes that matter for each.
Single-Side Breakfast Bar
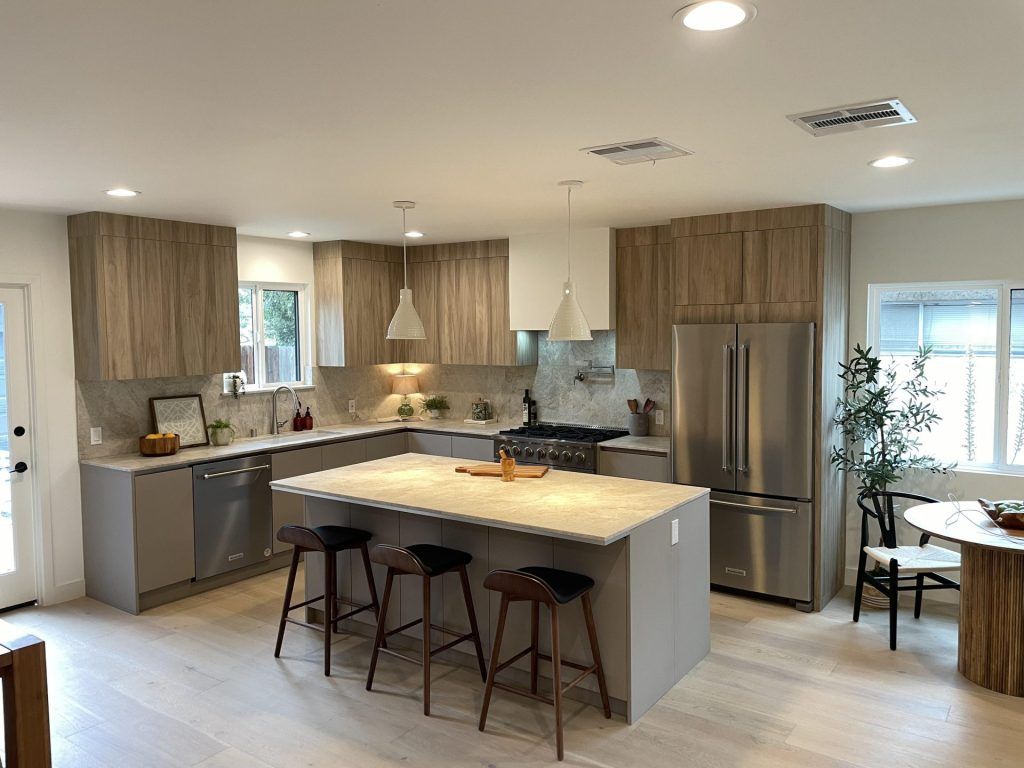
All seats line up along one long side, facing the cook. It’s the simplest and most space-efficient layout, and it keeps the working side free for drawers, a sink, or a cooktop. It suits households that use the island for quick meals and conversation while someone cooks.
L-Shaped Wraparound Seating
Seats run along one long side and turn the corner onto one end. Diners can see each other, which makes conversation easier than a straight line. Because the corner itself can’t hold a seat, the wraparound needs extra length on both runs to gain anything. It works best on larger islands where the end faces open floor rather than a busy path.
Face-to-Face Seating Across the Island
Seats on both long sides turn the island into a casual dining table. This layout gives up cabinet storage on both faces, so it works best when the perimeter cabinetry carries most of the storage load. Both sides need full seating clearance, which makes it one of the more space-hungry kitchen island design ideas.
Island With an Attached Dining Table
A table-height extension at one end creates a 30-inch dining surface while the main island stays at counter height. Guests sit in regular dining chairs, and the table can replace a separate dining set in a smaller home. Remember NKBA’s deeper 18-inch knee space at this height, and plan the walkway around the pulled-out chairs, not just the table.
Two-Tier Island With a Raised Bar
A raised 42-inch ledge along the seating side screens dishes and prep from guests. It’s practical for entertainers and for homes where the kitchen opens straight into a living room. The ledge’s vertical face is also a natural spot for outlets. The downside is a broken surface: the island no longer gives you one large, continuous workspace.
Waterfall Island Seating
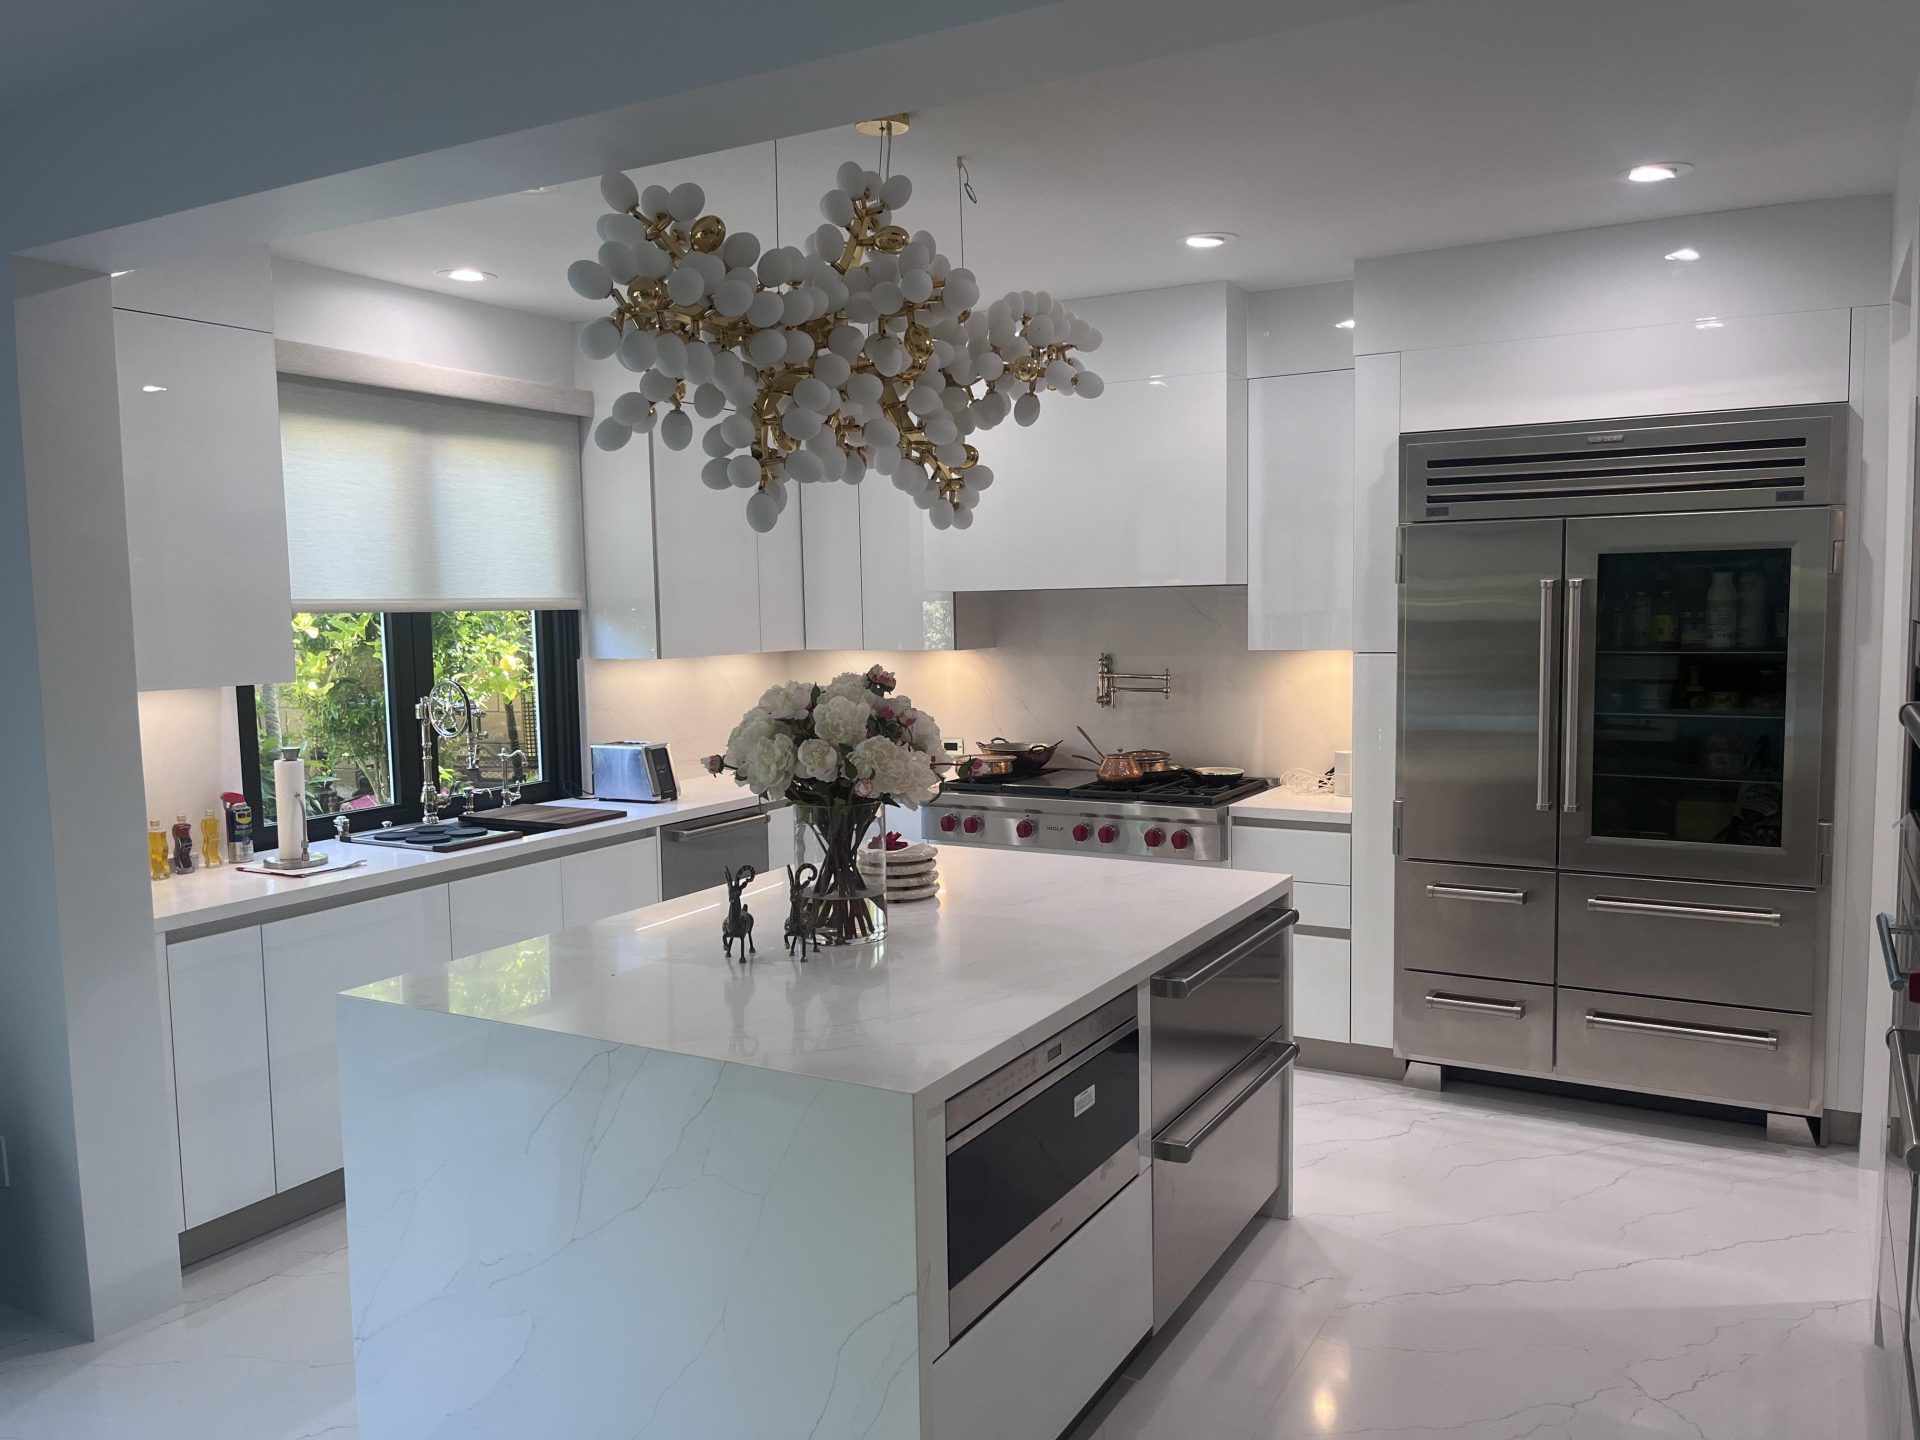
In a waterfall design, the countertop turns down vertically at one or both ends. The end panel frames the seating zone and can help carry the end of the overhang. It’s one of the most striking contemporary kitchen island design ideas, and it pairs beautifully with minimalist cabinetry and continuous stone. Ask your fabricator how the waterfall end and the seating overhang will be supported together.
Finish choices shape how each layout feels, too. If you’re leaning toward warm wood for the island base, our roundup of white oak cabinet ideas shows how natural grain reads in a seating zone.
Accessible and Multigenerational Island Seating
Many households include young children, older parents, or guests who use mobility aids. Tall bar stools don’t work for everyone, so it’s worth planning at least one lower seating spot from the start.
NKBA’s access recommendations call for kitchen seating 28 to 34 inches high, 30 to 36 inches wide, and 17 to 25 inches deep. They also recommend a knee space at least 36 inches wide, 27 inches high, and 17 inches deep at a table or counter. Behind that seat, NKBA plans 60 inches if a person using a wheelchair needs to pass.
For comparison, the federal 2010 ADA Standards place dining and work surfaces between 28 and 34 inches above the floor (Section 902.3). Those standards govern public facilities rather than private homes, but they’re a useful benchmark when you’re designing to age in place.
The easiest way to build this in is a two-height island: a counter-height prep zone plus a lowered table or seating section. NKBA’s access guidance also suggests two work-counter heights in the kitchen, one between 28 and 36 inches and another between 36 and 45 inches. Thoughtful kitchen island design ideas like this let every generation pull up a chair.
Island Cabinetry, Storage, Outlets, and Lighting Around the Seating
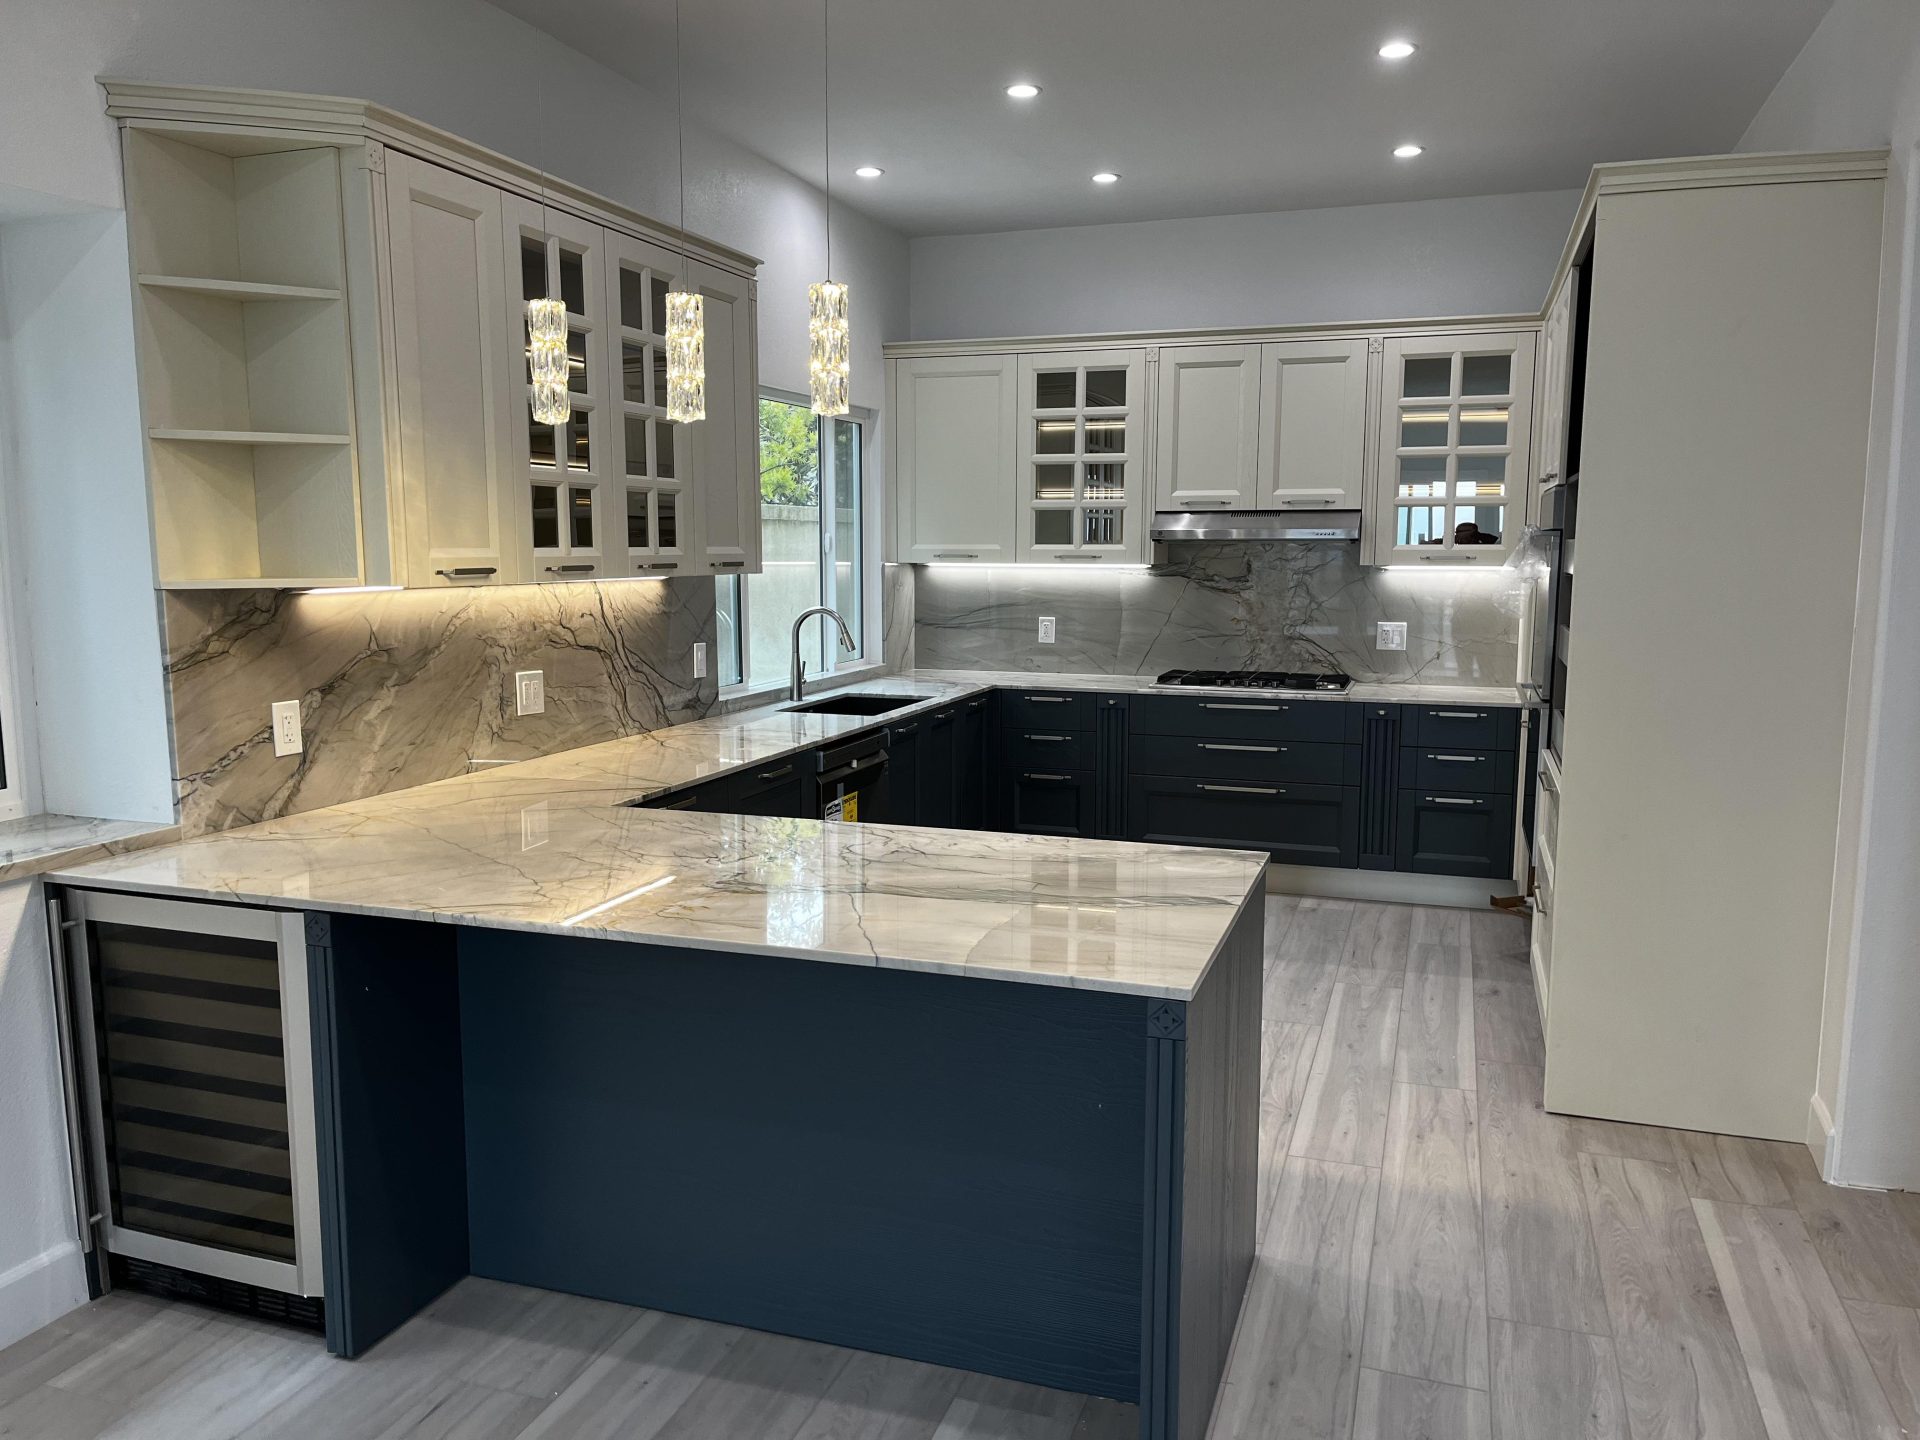
Many kitchen island design ideas focus on the countertop and forget what happens below and above it. With the right cabinet planning, the seating side can still store, charge, and light the room without crowding anyone’s knees.
Storage That Doesn’t Steal Knee Space
Knee space has to stay clear, but the rest of the island can work hard:
- Full-depth drawers on the working side keep cookware, utensils, and prep tools within one step of the cook.
- Cabinets at the ends of the seating run, outside the stool positions, can hold linens, serving pieces, or a beverage fridge.
- Open shelving on an end panel gives cookbooks and display pieces a home without blocking a seat.
Outlets and Charging
Islands with seating quickly become charging stations, homework desks, and laptop spots. NKBA’s guidelines, citing the International Residential Code, note that kitchen countertop receptacles need GFCI protection and shouldn’t be installed face-up in the countertop. Island outlet rules have shifted across recent electrical code cycles, so have your electrician confirm current local requirements before the cabinet layout is final. Planning the location early lets your designer build the outlet into an end panel or cabinet side instead of adding it as an afterthought.
Pendant and Task Lighting
Pendants over the seating side do double duty: they light the counter for meals and anchor the island visually. NKBA recommends that every work surface be well lit by task lighting in addition to general lighting. LEDs make generous island lighting easier to justify, since the U.S. Department of Energy reports that residential LEDs use at least 75% less energy than incandescent bulbs and last up to 25 times longer. Put the pendants on a dimmer so the island can shift from prep station to dinner spot.
Test the Island Layout Before You Order
Drawings and renderings are essential, but nothing beats standing in the actual room. Before cabinets are ordered, run this simple full-scale test with painter’s tape and the furniture you already own:
- Tape the island’s full footprint on the floor, including the seating overhang.
- Set stools or dining chairs at the overhang line, spaced 24 inches apart, and sit on them.
- Have someone walk behind the seated guests while another person opens the dishwasher, oven, and refrigerator doors.
- Carry a loaded tray or laundry basket along the main route to feel how the walkway handles real traffic.
- Check sight lines from the sink or cooktop to the seating, the family room, and any doors to the yard.
If anyone has to turn sideways or wait for a door to close, the plan needs more room. A 3D design shows the same conflicts on screen, but the tape test shows how the space feels with your own family moving through it.
Common Island Seating Mistakes and How to Avoid Them
These are the problems that come up most often when we review island plans with homeowners, designers, and builders:
- Planning the island before the aisles. Start with NKBA’s work aisle and walkway minimums, then size the island to what’s left.
- Using a standard counter edge for seating. A normal countertop lip leaves nowhere for knees. Seating needs the full 12-, 15-, or 18-inch knee space for its height.
- Counting corners as seats. Corners block knees, so count straight runs at 24 inches per person.
- Ignoring the path behind the stools. If people walk past seated guests, plan 44 inches, not 36.
- Leaving support until installation. Confirm the countertop’s unsupported overhang limit during design, so brackets or steel can be built into the cabinets.
- Sharp corners at hip height. NKBA Guideline 26 recommends clipped or rounded corners on all counters, which matters most where kids and guests move past the seating.
- Seating facing a cooktop with no buffer. If an island cooktop sits at the same height as the counter, NKBA recommends at least 9 inches of countertop behind the cooking surface.
Frequently Asked Questions About Kitchen Islands With Seating
It depends on the seating height. NKBA recommends a knee space 15 inches deep at a 36-inch counter, 12 inches deep at a 42-inch bar, and 18 inches deep at a 30-inch table. Each seat also needs 24 inches of width.
NKBA recommends 32 inches from the counter edge to a wall when no one passes behind seated diners, 36 inches for people to edge past, and 44 inches for people to walk past. If a wheelchair user needs to pass, plan 60 inches.
An 8-foot (96-inch) seating side fits four seats at NKBA’s 24 inches per person. Wider stools with arms may reduce that to three. Don’t count the corners as seats, since knees collide there.
Counter height (36 inches) keeps one continuous surface for prep and serving, and it suits most households. Bar height (42 inches) hides kitchen mess from guests but uses taller stools that are harder for kids and older adults. Many popular kitchen island design ideas combine both with a two-tier top.
Often, yes. Every countertop manufacturer sets a maximum unsupported overhang that varies by material and slab thickness. Seating overhangs frequently exceed it, so plan corbels, concealed steel brackets, legs, or end panels during design.
Plan Your Island With Prestige Cabinet
The best kitchen island design ideas are the ones measured against your actual room. Our designers prepare a free 3D design so you can see seat spacing, overhangs, and walkways before anything is ordered. Explore more kitchen island design ideas in our modern kitchen cabinetry, browse our classic kitchen styles, or see finished rooms on our projects page.
Visit a showroom to see Italian cabinetry up close and talk through your island plan with a designer:
- Santa Ana: 650 S Grand Ave, Santa Ana, CA 92705
- Laguna Niguel: 23811 Aliso Creek Rd, Unit 160, Laguna Niguel, CA 92677
Bring your room measurements, or book a free design consultation, and we’ll help you build an island everyone wants to sit at.