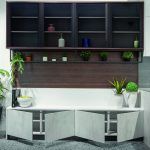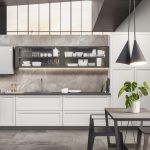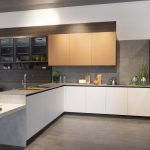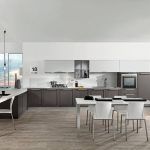
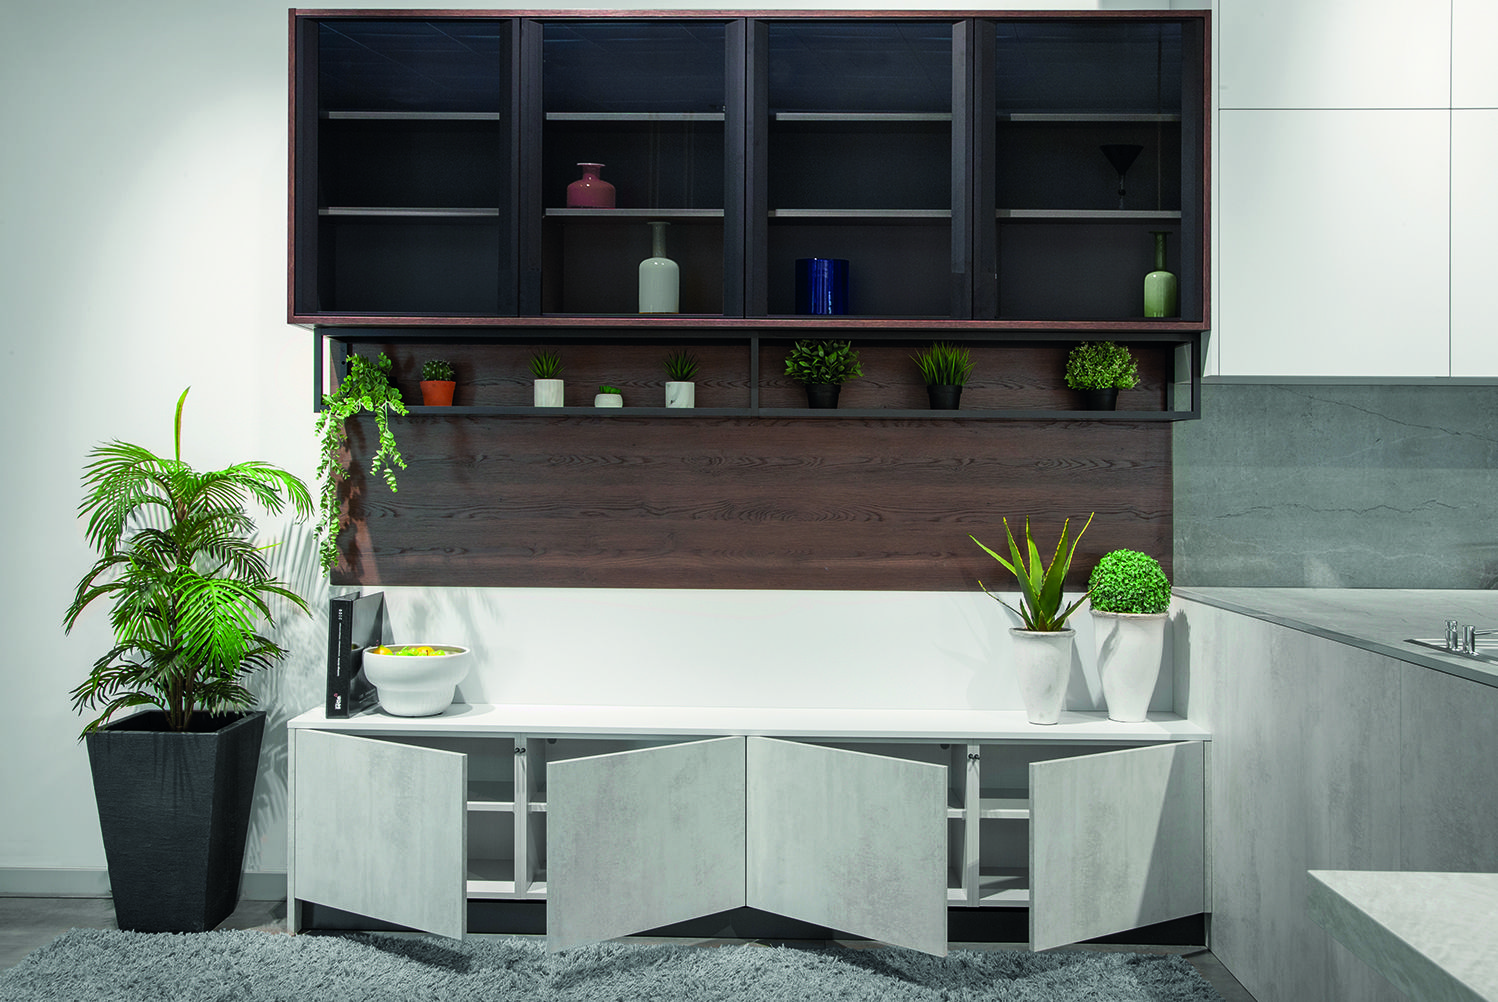
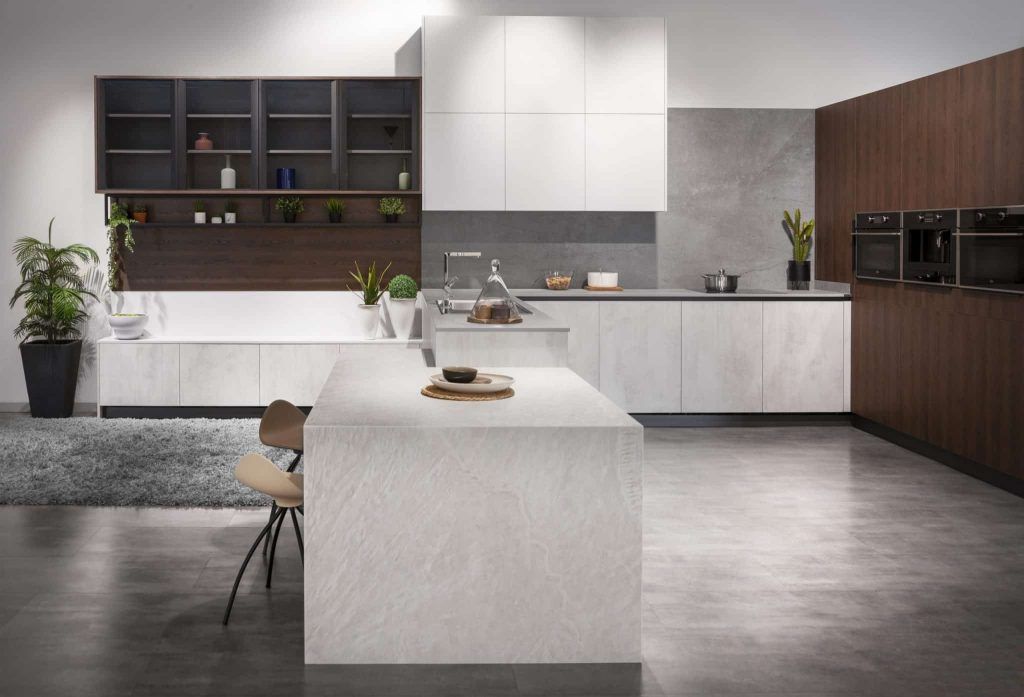
Knowing how to style upper glass kitchen cabinets comes down to three moves: edit ruthlessly, display within a tight color palette, and leave visible empty space on every shelf. Glass-front uppers show everything, so the goal is not to fill them but to curate them. Choose a small number of pieces you love and actually use, group them by color and shape, light them gently, and keep anything mismatched behind solid doors. Done well, glass cabinets make a kitchen feel taller, brighter, and more personal. Done poorly, they become a lit-up display of everything you meant to put away.
Glass-front wall cabinets are a popular request in luxury kitchen design, and the question that follows is almost always the same: what actually goes inside, and how should it be arranged? At Prestige Cabinet, we design and install Italian-made kitchens across Orange County, and this guide reflects the styling conversations our designers have with homeowners every week. It covers the full process, from editing and color to composition, shelf by shelf, so your cabinets look as calm on an ordinary Tuesday as they did on installation day.
Why Glass-Front Kitchen Cabinets Look Cluttered So Quickly
Solid cabinet doors hide visual noise. Glass doors do the opposite: they turn the inside of a cabinet into part of the wall’s composition. Every mismatched mug, faded logo, and half-used box becomes a detail the eye has to process.
Clutter behind glass usually comes from a few predictable causes:
- Too many items. Shelves packed edge to edge leave the eye nowhere to rest.
- Too many colors. A rainbow of patterns, logos, and finishes competes with the cabinetry and countertop.
- No clear purpose per shelf. Everyday mugs, a serving platter, and a vase all fight for attention.
- Uneven scale. Tiny items scattered beside tall pieces, with no grouping to connect them.
- Poor lighting. Dim interiors look like dark boxes, while harsh light exposes every smudge.
The good news is that each of these is fixable without a remodel. The strategies below address them one at a time.
Start With an Edit: Decide What Belongs Behind Glass
The most important step in learning how to style upper glass kitchen cabinets happens before anything goes back on the shelf. Empty the cabinets completely. Wipe down the shelves and the inside of the glass. Then look at every item with one question in mind: does this deserve to be seen?
Sort Items Into Display, Daily-Use, and Hidden Storage
Create three groups as you unload:
- Display pieces. Items with strong shape, color, or sentimental value, such as a stack of white stoneware, crystal stemware, a pair of ceramic pitchers, or heirloom serving bowls.
- Daily-use pieces that also look good. Matching dinner plates, uniform drinking glasses, and a set of everyday bowls can live behind glass as long as they are consistent.
- Hidden storage. Anything mismatched, branded, plastic, or purely functional, including food storage containers, travel mugs, spice jars with mixed labels, and appliance manuals.
Only the first two groups go back behind glass. The third moves to solid-front cabinets, drawers, or a pantry. If you do not have enough closed storage to absorb that third group, treat it as a layout question for your designer. Clutter behind glass is often a symptom of too little concealed storage elsewhere in the kitchen.
Match Each Display Cabinet to How You Actually Cook
A glass cabinet near the dishwasher or sink is an ideal home for everyday plates and glasses, because they rotate constantly and never gather dust. A glass cabinet at the end of a run, or flanking a range hood, suits collections you use occasionally: serving pieces, cake stands, and glassware for entertaining. A glass cabinet above a coffee station can hold matching mugs, cups, and saucers, a small, self-contained display that stays useful every morning. Assigning a clear role to each cabinet prevents the slow creep of random items that builds up over months.
Build a Cohesive Color Palette for Your Glass Cabinet Display
Color is where most glass cabinet styling succeeds or fails. When you plan how to style upper glass kitchen cabinets, choose a palette of two or three colors and treat it as a rule rather than a suggestion.
The Monochrome Approach
All-white or all-cream dishware is the most forgiving option because it reads as one calm mass rather than dozens of individual objects. Mix textures within the same color, such as glossy porcelain, matte stoneware, and ribbed glass, to keep the look from feeling flat. Clear glassware works the same way. A run of identical tumblers or wine glasses looks intentional, while a mix of promotional pint glasses looks accidental.
Two-Tone and Accent Color Schemes
If you prefer more personality, pair a neutral base with a single accent color that already appears elsewhere in the kitchen, such as the veining in a marble countertop, a backsplash tile, or brass hardware. A few combinations that work well:
- White dinnerware with sage or soft green serving pieces in a kitchen with natural wood accents.
- Cream stoneware with amber or smoke-tinted glassware in a warm, classic kitchen.
- Matte black ceramics with clear crystal in a high-contrast modern space.
Repeat the accent color on at least two shelves so it looks deliberate. A single colorful item alone on one shelf tends to look forgotten rather than featured.
Arranging Dishes and Glassware: Spacing, Grouping, and Negative Space
Once you have edited and chosen a palette, arrangement does the rest. A few simple composition principles from interior styling apply directly to how to style upper glass kitchen cabinets, and none of them require buying anything new.
Group in Odd Numbers and Vary the Height
Groups of three or five tend to look more natural than pairs or long, even rows. Place a tall item, such as a pitcher or a plate displayed upright on a stand, next to medium and low items. This creates a gentle rise and fall across the shelf instead of a flat line. Vary height from shelf to shelf too. A shelf of tall stemware above a shelf of low bowls keeps the eye moving through the cabinet.
Stack, Line, or Lean: Pick One Pattern per Shelf
Mixing several arrangement styles on one shelf creates visual noise. Choose one pattern per shelf:
- Stacked. Plates and bowls in neat, centered stacks give the calmest look.
- Lined. Glasses or mugs in a single, evenly spaced row, all facing the same direction, create rhythm.
- Leaned. A few platters or chargers standing upright against the cabinet back, held by a plate groove or rail, add a focal point.
Then alternate patterns from shelf to shelf so each layer reads as its own small composition.
Leave Breathing Room on Every Shelf
Negative space is what separates a styled cabinet from a full one. Leave visible gaps between groups, and between your items and the cabinet sides. A simple test is to step back to the far side of the kitchen. If you cannot see the back of the cabinet anywhere on a shelf, remove a few pieces. Empty space signals that everything inside was chosen on purpose.
Keep Shelf Edges and Sight Lines Clean
Align the front edges of stacks and set items back slightly from the shelf edge. Straight sight lines through the glass make the whole cabinet look orderly, and pulling items back reduces the chance of a plate catching the door as it closes.
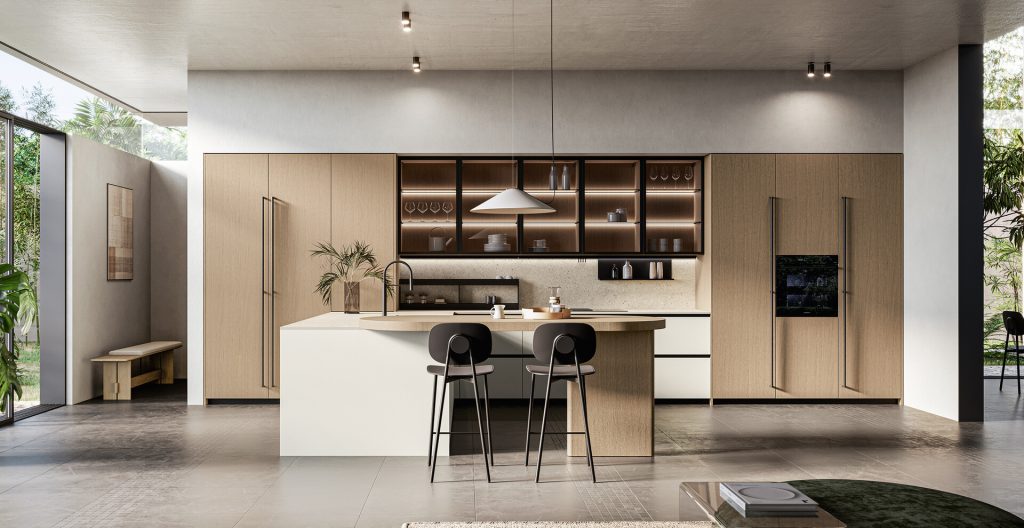
A Step-by-Step Method for Styling Glass Display Cabinets
If you want a repeatable process, this is the sequence our designers walk clients through after installation. It takes an afternoon, and it works whether you have two glass doors or a full wall of them.
- Empty and clean. Remove everything, then wipe the shelves, the cabinet back, and both sides of the glass.
- Edit into three piles. Display, daily-use, and hidden storage, as described above. Be strict with the third pile.
- Set your palette. Pick two or three colors from the display and daily-use piles and set aside anything that falls outside them.
- Place the anchors first. Start with the largest pieces, such as a tall pitcher, a leaning platter, or a stack of dinner plates, and give each shelf one anchor.
- Build groups around the anchors. Add medium and small pieces in groups of three or five, varying height within each group.
- Balance across doors. If you have a pair of glass cabinets, mirror the visual weight from one side to the other rather than duplicating items exactly.
- Subtract one item per shelf. Once everything looks finished, remove one more piece from each shelf. This is the step most people skip, and it makes the biggest difference.
- Check it lit and unlit. View the cabinets in daylight and again in the evening with interior lights on, then adjust anything that casts a distracting shadow or reflection.
Following these steps in order is the most reliable answer to how to style upper glass kitchen cabinets so they stay styled, because each step removes a source of clutter before the next one adds anything back.
Let the Glass and the Frame Do Some of the Editing
Not every glass cabinet has to be crystal clear, and the insert you choose changes how much styling a cabinet demands. Glass choice is a design decision as much as a styling one, and it shapes how to style upper glass kitchen cabinets long before the first plate goes in. From a styling perspective, the useful distinction is simple:
- Clear glass shows every detail, so it suits curated collections and rewards strict editing.
- Textured glass, such as reeded, fluted, frosted, or seeded, blurs individual items into shapes and color. It forgives everyday dishes that do not perfectly match.
- Divided glass, with mullions or leading, frames small groups in separate panes, which naturally breaks up a busy view.
A smart strategy is to combine finishes: clear glass on a pair of statement cabinets and textured glass everywhere else. You get the display moment without committing every shelf to perfect styling. The frame matters too. A slim metal frame puts the focus on what is inside, while a wider wood or lacquered frame draws attention to the cabinetry around it, so the display can be quieter.
Lighting That Flatters the Display Without Exposing Clutter
Lighting turns glass cabinets from storage into a feature. Without it, cabinets appear as dark rectangles in the evening. With the wrong light, every fingerprint and dust spot shows.
Why LED Suits Display Cabinets
LED lighting is the practical choice for cabinet interiors. According to the U.S. Department of Energy, LEDs emit very little heat, while incandescent bulbs release about 90% of their energy as heat, a meaningful difference inside an enclosed cabinet full of glassware. The DOE also notes that LEDs emit light in a specific direction, which makes them well suited to tight spaces.
For styling, the placement of light matters as much as the fixture. Vertical strips along the cabinet sides wash light evenly across every shelf and reduce harsh shadows. A single light at the top works best with glass shelves, which let light fall through to lower levels. Choose a warm white that matches your other fixtures, and use diffused lenses so individual LED dots do not reflect in the glass as visual noise.
Layer Cabinet Lighting With the Rest of the Kitchen
Cabinet lighting works best as one layer among several. The National Kitchen & Bath Association’s Kitchen Planning Guidelines recommend appropriate task lighting at every work surface and, in their access standard, lighting from multiple adjustable sources. In practice, put interior cabinet lights on their own dimmer or switch, separate from under-cabinet task lights and ceiling fixtures. That way you can dim the display at night for ambiance and leave it off during the day when natural light does the work. Thoughtful lighting is one of the simplest answers to how to style upper glass kitchen cabinets so they look finished at every hour.
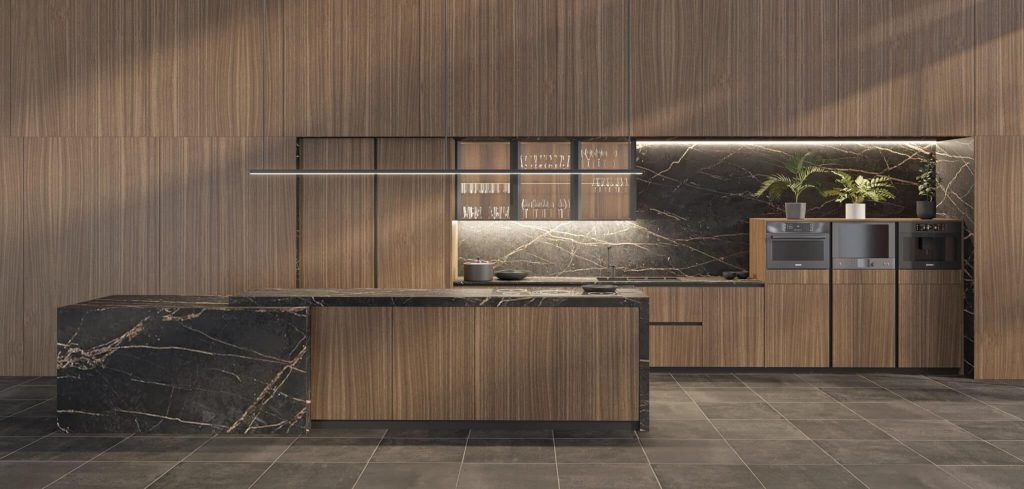
Shelves, Interior Finishes, and Cabinet Backs
What surrounds your dishes matters as much as the dishes themselves. Interior materials are one of the most overlooked tools for reducing clutter behind glass.
Glass Shelves vs. Wood Shelves
Glass shelves let light travel from the top of the cabinet to the bottom, so a single light source can illuminate every level. They also make the cabinet feel lighter and less crowded. Wood or lacquered shelves create stronger horizontal lines that frame each shelf as a separate display, which suits classic kitchens and heavier stoneware. Whatever you choose, confirm shelf load capacity with your cabinet designer before loading heavy platters or tall stacks of dinnerware.
Use the Cabinet Back as a Backdrop
A contrasting interior color makes items stand out and simplifies the composition. White dishes against a deep navy, charcoal, or wood-grain back look graphic and intentional. A back that matches the dishes lets them blend into a single quiet field instead. Mirrored backs add depth and bounce light around, but they also double everything you display, so reserve them for a tightly edited collection.
Add Grooves, Rails, and Fitted Dividers
Plate grooves, rails, and fitted dividers hold upright pieces in place and keep stacks aligned. They also make it easier to put items back in the right spot, which matters more than most people expect. Styling only lasts if it is easy to maintain.
Styling Glass Upper Cabinets in Modern and Classic Kitchens
The principles stay the same across design styles, but the details shift.
Modern and Contemporary Kitchens
Modern kitchens favor restraint. Think slim frames, textured or tinted glass, integrated lighting, and very few objects. A single line of identical stemware, a stack of matte plates, and one sculptural vessel per shelf is often enough. Flat, handleless panels around the glass cabinet keep the focus on the display. See how glass uppers fit into a minimalist layout in our modern kitchen collections.
Classic, Traditional, and Transitional Kitchens
Classic kitchens can carry a little more, but they still benefit from structure. Divided or seeded glass, a painted or wood-tone interior, and collections of ironstone, crystal, or patterned china grouped by color look rich without looking crowded. Plate rails and cup hooks add charm when used sparingly. For inspiration, browse our classic kitchen collections.
Open-Concept and Entertaining Kitchens
If your kitchen opens into a living or dining area, glass uppers are visible from more angles and for more of the day. Treat them like furniture. Style them with the same palette as nearby shelving, a bar area, or a media wall so the whole space reads as one design.
Keep It Practical: Reach, Safety, and Upkeep
A beautiful display that is hard to use will not stay beautiful for long. Practical planning is what keeps a styled cabinet from sliding back into clutter.
Put Everyday Items Within Comfortable Reach
Place the items you use most on the lowest shelves of your wall cabinets and save the top shelves for occasional pieces. The NKBA access standard recommends planning storage for frequently used items between 15 and 48 inches above the floor, and the guidelines count storage more than 84 inches above the floor as miscellaneous. In most kitchens, that makes the lower shelf of a wall cabinet your everyday zone and the top shelf of a tall or stacked upper a display-only zone.
Style With Earthquakes in Mind
In Southern California, styling has to account for seismic movement. The Earthquake Country Alliance warns that unsecured cabinet doors can fly open during an earthquake and send glassware and dishes to the floor, and it recommends latches to keep doors closed. For styling, that means keeping heavier pieces on lower shelves and using museum putty or non-slip liners under decorative items.
A Simple Cleaning and Refresh Routine
Glass doors show dust and fingerprints faster than solid ones. A light routine keeps them looking sharp:
- Wipe the door glass weekly, especially near handles and edges.
- Dust display shelves monthly, and rotate everyday dishes so nothing sits untouched.
- Refresh the display seasonally by swapping a few accent pieces rather than adding new ones.
- Re-edit once or twice a year. If something has migrated in, move it out.
Common Mistakes That Make Glass Kitchen Cabinets Look Cluttered
Even well-planned cabinets drift over time. Watch for these common mistakes:
- Filling every inch. This is the most frequent problem. Empty space is part of the design.
- Mixing too many sets. Three different dish patterns read as three different kitchens.
- Displaying branded or plastic items. Logo mugs, takeout containers, and plastic cups belong behind solid doors.
- Ignoring the view from across the room. Style from where guests stand, not only from the counter.
- Choosing clear glass for everyday storage. If a cabinet holds daily mismatched items, textured glass is more forgiving.
- Skipping interior lighting. An unlit glass cabinet can look heavier and darker than a solid door.
- Underplanning closed storage. When hidden storage runs out, clutter moves behind the glass.
Avoiding these is often the difference between a cabinet that needs constant fussing and one that simply works. If you are still deciding how to style upper glass kitchen cabinets for a new kitchen, it is far easier to solve these issues during design than after installation.
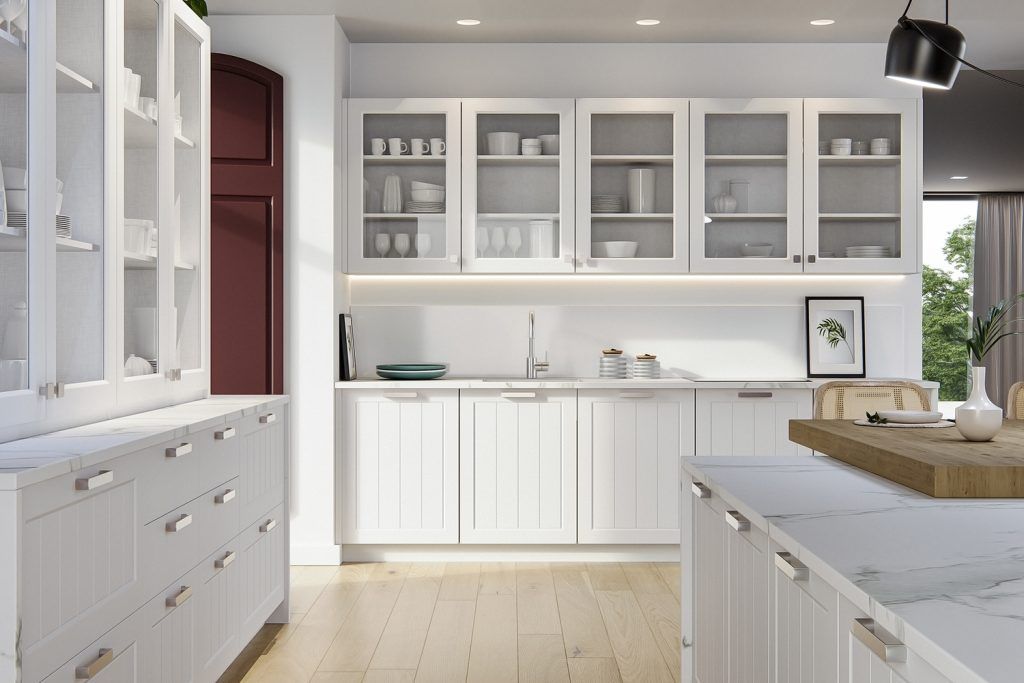
Design Your Glass-Front Cabinets With Prestige Cabinet
The most clutter-free glass cabinets are planned, not just styled. Placement, glass type, interior finish, lighting, and the balance between open display and concealed storage are all decided at the design stage. Prestige Cabinet designs and installs Italian-made kitchen cabinetry throughout Orange County, and our in-house designers use 3D design software so you can see exactly how your glass uppers will look before anything is ordered.
Browse completed kitchens in our projects gallery, or visit a showroom to see glass-front doors, interior finishes, and cabinet lighting in person:
- Santa Ana: 650 S Grand Ave, Santa Ana, CA 92705
- Laguna Niguel: 23811 Aliso Creek Rd, Unit 160, Laguna Niguel, CA 92677
Book a free design consultation, and our team will help you plan glass-front cabinets that look calm, curated, and completely yours.
Frequently Asked Questions About Styling Glass Kitchen Cabinets
How full should glass-front kitchen cabinets be?
Aim for shelves that look about two-thirds full, with visible gaps between groups and along the cabinet sides. If you cannot see the cabinet back anywhere on a shelf, it is too full. Removing one more item per shelf than feels necessary is a reliable rule of thumb.
Should everyday dishes go in glass-front kitchen cabinets?
Yes, if they match. A consistent set of plates and glasses looks tidy behind glass and stays dust-free because it is used constantly. If your everyday dishes are mismatched, choose textured glass, or keep them behind solid doors and reserve the glass for display pieces.
What color should the inside of glass cabinets be?
Choose a back that either contrasts with your dishes or matches them. Contrast, such as white dishes against navy or charcoal, makes pieces stand out graphically. A matching tone lets the collection blend into one calm field. Both approaches look intentional; a back that is neither tends to look unplanned.
Can you mix dishes and glassware in the same glass cabinet?
Yes, as long as each shelf has one job. Put glassware on one shelf and dishes on another rather than mixing them side by side. Glassware usually looks best on upper shelves where light passes through it, with heavier plates and bowls on the lower shelves.
How do you style glass cabinets without buying new decor?
Start with what you already own. Edit to your best-looking pieces, group them by color, vary their height with upright plates or a stack of bowls, and leave empty space. Learning how to style upper glass kitchen cabinets is mostly about subtraction, so the most effective change is usually removing items, not adding them.